Pages

Thursday, December 25, 2014

Live Love Laugh


It's  Terri Sproul here again, I am having so much fun find new way to use my Ebrush..
I love to work with Canvas, So I had to try to use my Ebrush on a Canvas


I am TRILLED on how this turned out...

Supplies:
EBrush
Specium Noir:  
PPA
Pretty Napkin
Die cut Letters
Canvas


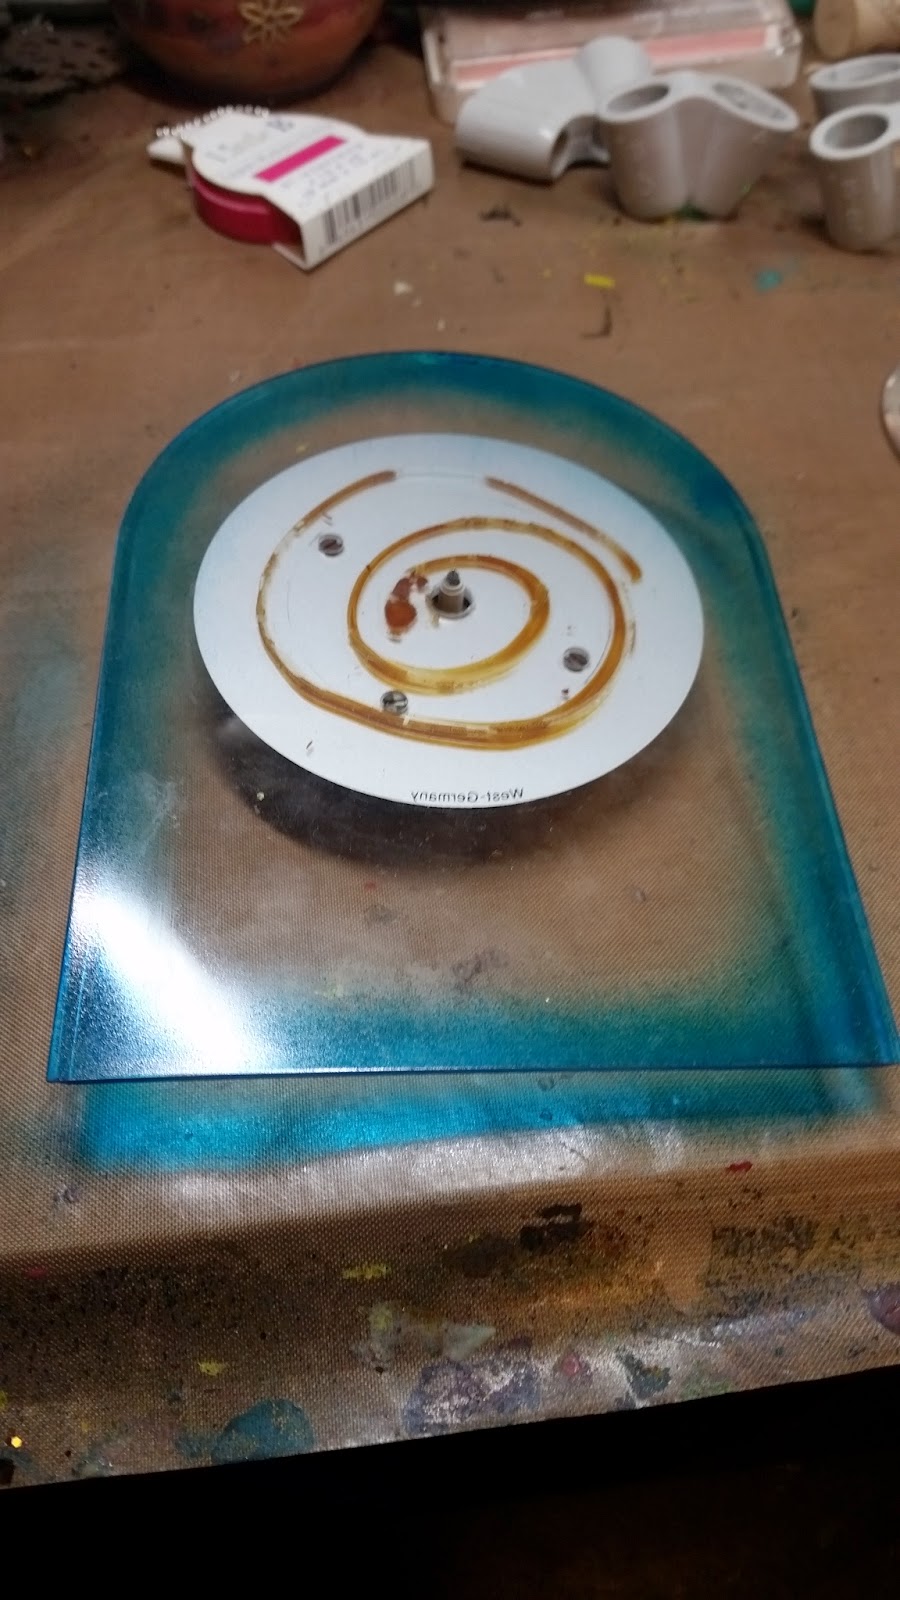
Start off my Splitting my canvas into four sections.  Each section got spray with my Ebrush and Spectium Noir Pens with a different color, I choose colors that match my Napkin design I plan on using.  


Just love the way I can get some great color onto my background, super easy using my Ebrush.  WOW, such a fun toy..... You really need one....


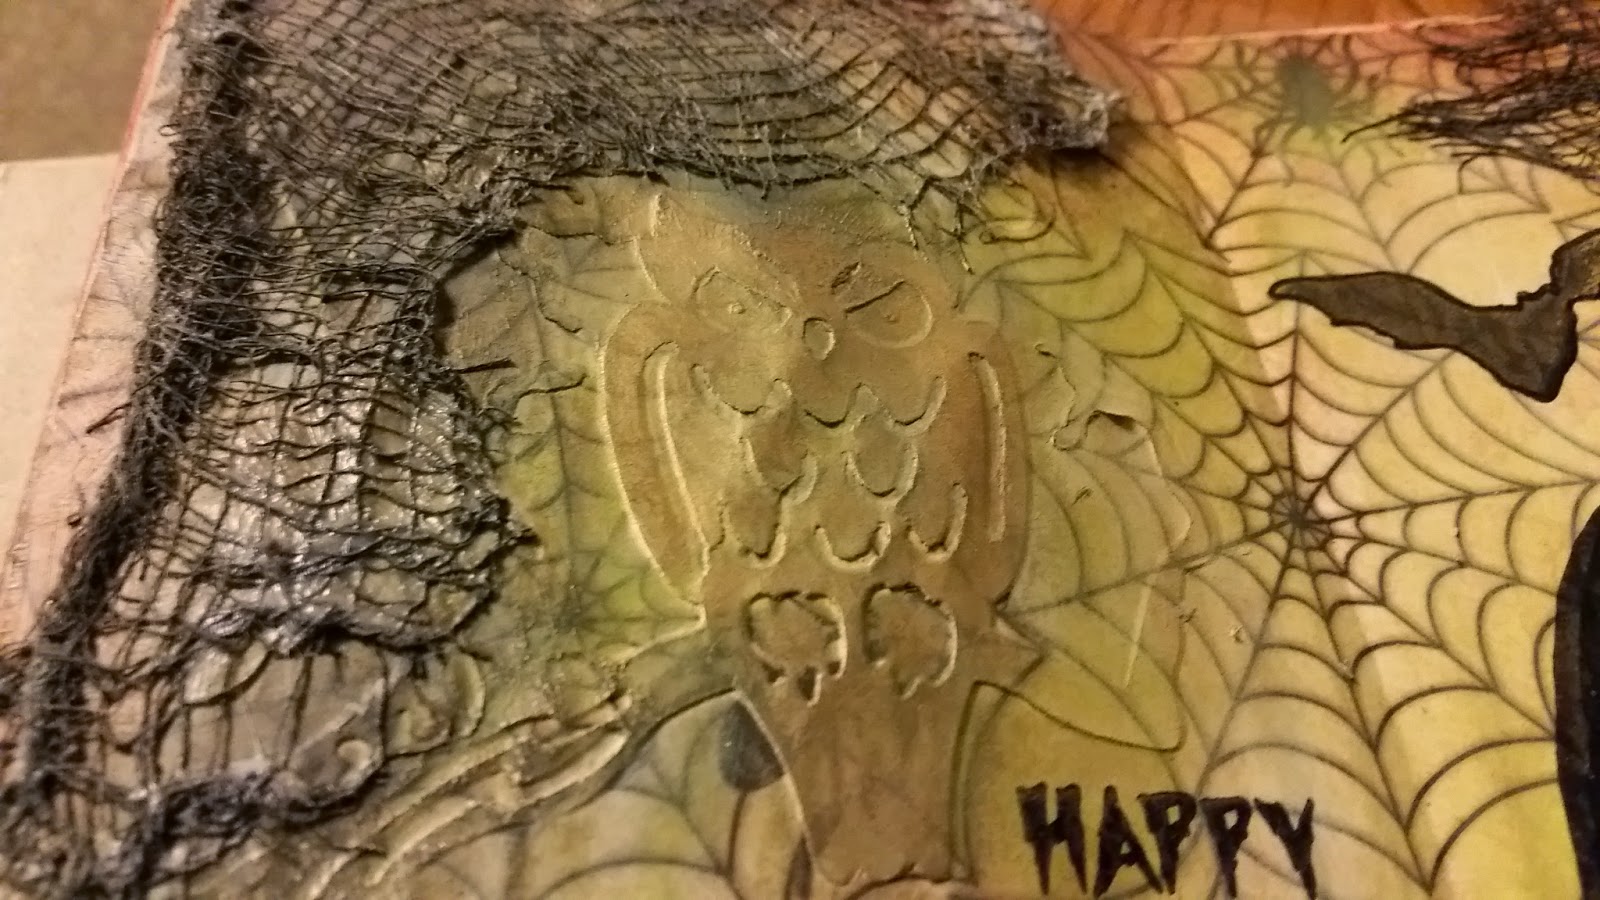
See how cool this design is on this napkin..  - I cut out the image and peel away the two layer of while on the back of the napkin.  Leaving me ONLY the color part of the napkin to use


Using my PPA to adhere my Napkin image down to my canvas, and then use it to adhere my words too...  


Another master piece done in just minute using my Ebrush....  THANKS for let me play
Terri Sproul 


Thursday, December 18, 2014


It's Christmas time and we have LOT of people to remember this time of the year, neighbors, mail-person, teachers, friends etc...
I am always looking for a easy and personal way to give a great gift..


1)  Tape down your Stencil and Tag.

2)  Using Post it note to cover (Mask) off the area you don't want to paint

3)  using Spectrum Noir OR1 - spray using your Ebrush the beak - used  Spectrum Noir LV2 and Sepectrum Noir PL4 for the Scarf and hat Spectrum Noir
DG4 for the background,Sepectrum Noir DR5 for the cap, and cheek

4)  I love to purchase while paper or silk flowers and my Ebrush is perfect to spray them any color i want and need..  Great way to save some money  Now just add a bottle of wine, and you have a great gift...


Here is a bonce project 

Wednesday, December 17, 2014

Some of my Friends are Flakes

Tuesday Night LIVE Show  - I had fun make this page on my live show.. Hope you join me live, if NOT here is the replay


Supplies:
SnowFlake Masks- Sincity Stamps 
Prima color Bloom:  Summer Sky Mist
DecoArt Media Mister:  Primary Cyan
Pan Pastels
Medallion Stamps:  Sincity Stamp
Cut, and bond:  UsArtQuest.com
Spoonful of Snow from Stampendous.com
Embossing Gun
Gel Medium
Snowman Stamps from Sincity Stamps


Here is the Live show - join me next time at
http://www.youtube.com/terrisproul


Wednesday, December 3, 2014

Color block art journal page

It's our Tuesday Night Live show...
I was asked to do this technique called
Color Blocking


Gesso
Gel Medium
Dictionary Page
CottonWood Art Journal
Make up sponges
Stazon Ink
Paints:  DecoArt Paints
Letter stamps:  Sincity Stamps


Tuesday Night on Google Hangout 
6PM PST
7PM MST
8PM CST
9PM EST


Thanks for join me live,  Join my group in facebook called "all things Terri Sproul"  add your finished page to that group and be enter to win a prize...

terri sproul

Thursday, November 27, 2014

Altered clock


I love going to Thrift stores and find things I can make new again.  Last week I found this clock and had to have it


Snowflake Clock 


Directions: 
1)  Take Clock apart 


2)  Remove Clock hand and clock face 

3)  Spray using your Ebrush and Spectrum Noir BT7 on the outside of the glass - leaving the center clear.


4)  Spray center of glass with a Light color I used Spectrum Noir TB3 with my Ebrush 
5)  Add clock face and hand back on.  Love the way this turn out
6)  on the Front piece of glass I spray using the Dark Spectrum noir BT7 around the outside and then add snowflake stickers 


7)  The side of the clock is metal, and I spray that with my Ebrush (it's is amazing what you can do with your EBRUSH)  using Spectum Noir BT7
8)  Finish by putting your clock back together and enjoy.  I can't wait to display this at Christmas Time at my house.  


Thanks for enjoy my project 


Friday, November 21, 2014

Altered Belt


Hello Again, I am Terri Sproul and I just love to check out the thrift store and see what I can make, Here is my latest find.....
Supplies:  
Sharpies - Blue and Green
old metal Belt
Craft Wire

Found this metal 60's belt at the thrift store for $1
SCORE 

My Ebrush and Sharpies made it Blue and Green 

Sorry, but I lose the photo of the me stamping into the clay
Stamp Image into the clay and cut out with a butter knife
Make sure you add the hole for your wire later

Paint each leave using Terri Sproul Mixers and 3-D Crystal lacquer
After paint dry, add Embossing Ink to edges and add Gold Embossing powder, heat set


Wire each leave to belt using Craft Wire

Wear Proudly...  

Sunday, November 9, 2014

Blog Hop around the World

Last week I was apart of TWO blog post - and both of them featured me as the one they would like me to answer these four questions.  I am not good at this part, but here I go...


1) What am I working on: This is a hard on for me to answer, I always have something new going on, most of the time, something I have never tried before. I love to think out of the box in off the page. But presently I have the new Chemeleon Pens on my desk, so I have been playing with them alot

2) How does my work differ from others of its genre?
 I like to play with many different medium.  I am love to teach other

3) Why do I create what I do?
 It's a need... I need to create and I need more to teach other how to create

4) How does my creating process work? I'm a Thinker.... I think Think Think, then I create and pray they my project come out like it did in my head...LOL......


Now the next two blog I am sharing:


Joe Rotella 

Thanks for stopping by, check out their blogs on Monday to see who they pick

Terri Sproul 

Wednesday, November 5, 2014

Sun Setting on Halloween Art Journal Page

 I hope you join me last night for my regular Tuesday Night Live Art Journal show.  Next Week we are play with Creative paperclay on the front cover of our art journals

Chameleon Pen 
Decoart Media Paints Black, Orange, Yellow and White
CottonWood Art Journal
spray bottle of water
foam bat stamps
Oct 31st stamps from Sincity Stamps

Sun Setting on Halloween

Here is the video LIVE show. join me next week


Thanks again, see ya next week

Terri Sproul

Thursday, October 30, 2014

Halloween bottle

Happy Halloween

I just love Halloween and playing Dress up
here is my project for my Ebrush Design Team


Altered Bottle for Halloween

Supplies:
Wine Bottle
Napkin
Dew Drops
Ribbon
Cat and Pumpkin Die Cut
Sharpies:  Green, Orange, Purple and Black


Directions:
1)  Get some Ribbon out - I only purchase White or Cream ribbon and spray it using my Ebrush the color I need to match my project.  GREAT way to save yourself some MONEY. (see photo below)
2)  Drink a Bottle of WINE.... LOL
3)  clean all labels off your wine bottles - I soak them in warm water with baking soda and vinage
4)  Starting at the bottle of my wine bottle - start spraying with your EBrush and Shapie, I started with Orange and then added purple and end at the top of the bottle with black. (see photo below)
5)  Cut out image from Napkin - I cut out this Skull image - remove all of the White layer from your napkin, leaving only the Color Image part. 
6) Using PPA (Perfect Paper Adhesive) - add a nice thin layer to your bottle where you will be placing your napkin image.  Use a SOFT touch add your napkin image  
7) When you napkin image is Dry it's time to embellish - I add the Green ribbon I made using my Ebrush to the bottom of my bottle and then added the Cat and pumpkin die cut I had in my stash.  One last thing I added a few Dew Drops to my Skull image

color your own Ribbon using your Ebrush and a Sharpie 
Or any other marker you have in your stash 

See how cool the bottle looks with the Sprayed color

Thanks for stopping by today.  Have fun spray away!


Terri Sproul 

Wednesday, October 29, 2014

Mixed Media Canvas


I hope you enjoy this Blog post and Video I made for you - it's a great and easy way to make your own Canvas


Canvas 11 x 14
Gesso - White Gesso
Golden Light Molding Paste
Stencils:  Crafter Workshop
Washi Tape
Memories Mist Sprays
Prima Flowers
Trim from Creating with Details
Metal - Creating with Details
Doiley
Want to Scrap Bling
Dew Drop
Gel Medium
Elmer Precision Embellishment Glue
Beacon - Quick Grip
Gone Arts Website

Friday, October 24, 2014

Easy Halloween Banner

I am so honored to be apart of the Ebrush Design Team this Term.  Can't wait to show off some fun project over the next 6 months

See how cool and easy this is


Supply List
Sharpie - Black, purple
Banner Die cut from Quickutz
White Letter - 
Die Cut:  Spider Web and Spider
Ribbon

Direction:
1)  Cut out Banner from Orange Cardstock - as many as you need - I need 3
2)  cut out Spider web and spider from Transparencies Or you can use card stock, I like the transparence because it's thinner and you get a better spray
3)  Lay the Spider Web on to your cut out Banner pieces 
4) using your Ebrush and a Black Sharpie - spray your Webs onto the Cardstock.  DO you love that!
5)  Now get those White Chipboard letters and let add some color.  I spray my with my Ebrush and a purple Sharpie - just love this idea.  I never have to purchase color letter again...
6)  Adhere your letter to the center of each Banner - add your ribbon to them.  
YOU are done!

Thanks for stopping by, IF you own a Ebrush, join our group on Facebook for more GREAT idea and helpful hints 


Terri Sproul 

Wednesday, October 22, 2014

Vampire

Hello and welcome to my blog, On Tuesday night I host a LIVE art Journal class on Google Hangout
I love it if you join me live there

Design Team Call for Creative paperclay

you can now purchase these image 
coupon Code:  SproulQFXBMFF
15% Off


Supplies:
Halloween Paper
Gel Medium
Cheese Cloth
Memory Mist - Diet Cola
Black Paint
Titan Buff
embossing Ink
India Ink
Faber-Castell - Pitt Pen
Distress Ink:  
Stamps:  Ghost and Pumpkin 
Rub and Buff - I used Gold to bring out the Owl - THIS is done off camera


Here is the Video show on how I made this page


Thanks for joining me..  Hope you join me again in TWO weeks.  I am take next Tuesday Night off...

Terri Sproul